Your little ones birthday is coming up and not only do they want their favourite princess to be there, they also want a cake that looks just like them! Over the years we have been to so many birthday parties and seen (and eaten) lots of birthday cakes; but one particular style of cake we always love to see (and our Princess Heather even had for her 21st birthday) is a Princess Doll Cake – so simple and elegant, but yet so effective and easy to make yourself!
Read on if you’d like to give it a try…
1. What You Need
- 2 Boxes of Cake Mixture (any flavour)
- Ready to Roll Icing (in the colour of the princess dress you would like)
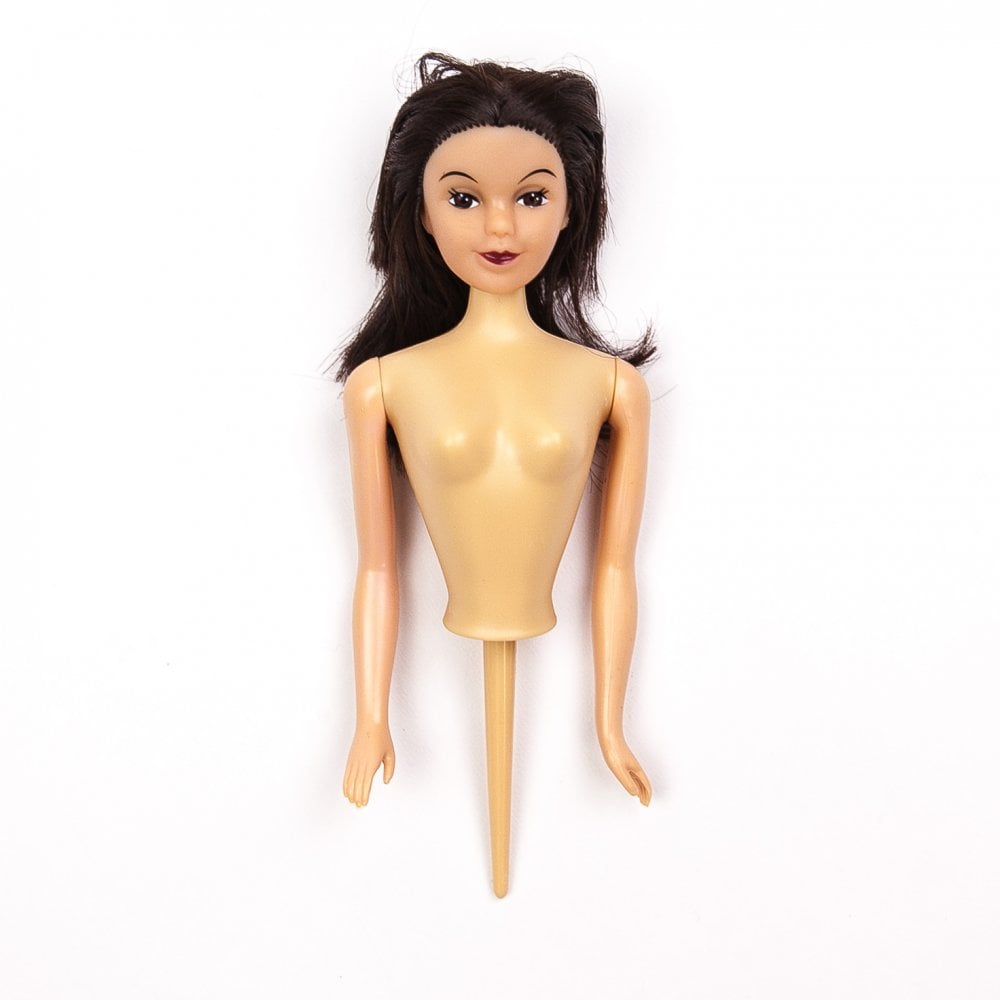
- A Doll Pick (found on Amazon)
- 2 Round Cake Tins
- 1 Large Domed Mug or Heatproof Bowl
2. Making The Dress Base
Firstly you want to make two sponge cakes to form the base of the dress. Before starting this section, read the cake mixture boxes and gather the ingredients required (eggs or alternative, oil, water etc) to create the mixture. Preheat your oven to the desired temperature at this point.
- Following the instructions on the box, prepare and mix your two cake boxes of cake mixture together (adding eggs or alternative, water and oil as per the cake mix box directions)
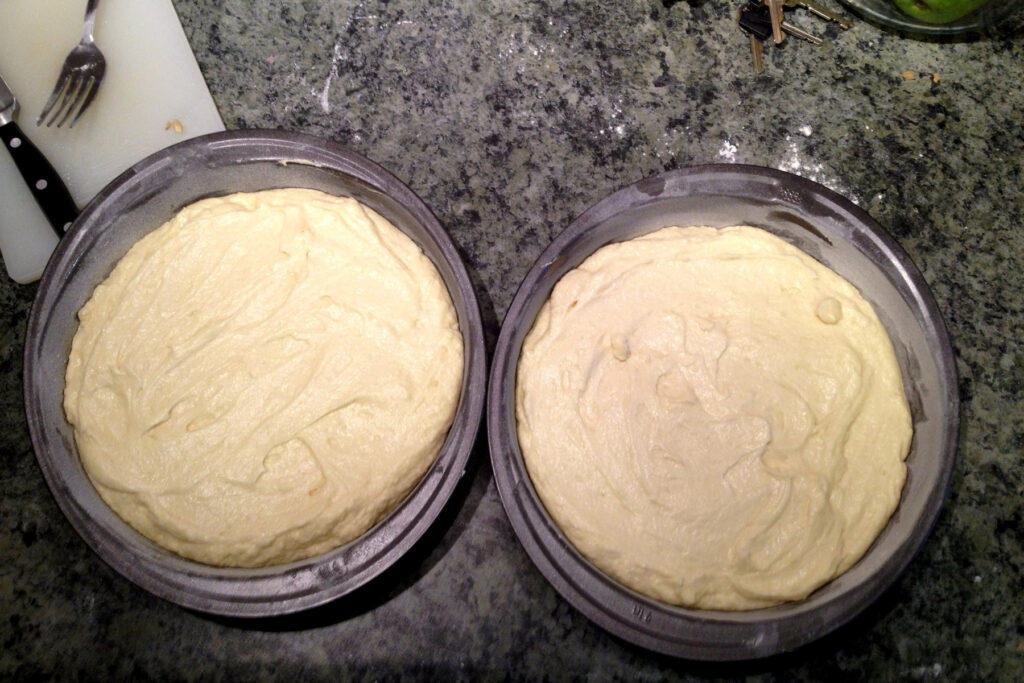
- Once the cake mixture is mixed, grease/butter your pans and lightly dust with some flour to prevent your cakes from sticking.
- Spread the batter evenly over both cake tins (if you have excess batter why not make some cupcakes for your guests?)
- Pop your cake tins (and cupcakes) into the oven for the allocated period of time stated on your cake mix boxes!
3. Making The Top of the Cake
Whilst waiting for the two cakes to bake it is time to create the top of the ballgown. For this we made a microwave mug cake in a bowl to create the round top of the dress. This mug/bowl should be slightly smaller than your cake tins.
To make the perfect microwave mug cake why not follow this recipe from BBC Good Food.
4. Putting The Cakes Together
- When the cakes are baked, remove them from the oven and leave them to cool for 10-15 minutes before removing them from their tins/bowls and then place onto a wire cooling rack to allow the cakes to finish cooling.
- Once cooled, place frosting/filling between each layer of cake and stack them, keeping the round mug cake on the top to round off the top of the dress.
- At this point you can use a flat knife to round off the edges of the cake to form one big ballgown.
5. Decorating Your Cake
Now it’s time for the most exciting part, bringing your cake all together and creating the princess that your little one desires! Make sure the cakes are completely cooled to avoid the decorations ‘sweating’ off and gather everything you need to decorate.
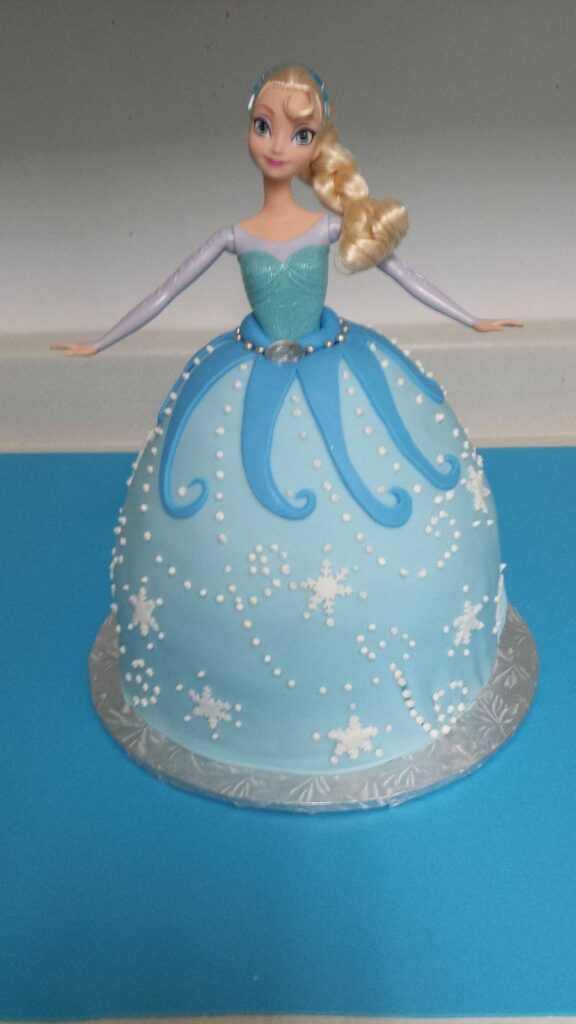
- Roll out your ‘Ready to Roll’ icing ensuring it is not too thin to prevent any tearing.
- Carefully lift and place the sheet of icing over your domed cake shape to create the perfect ballgown – if you want to add some patterns flowers/butterflies/patterns then it is a great idea to get two different coloured icing rolls.
- Poke your Doll Pick into the top of the cake. It is a great idea to use some remaining roll out icing to create the bodice of the dress on your princess.
- Style your princesses hair and add any final decorations onto the dress that you desire and ta da…there is your perfect princess cake!
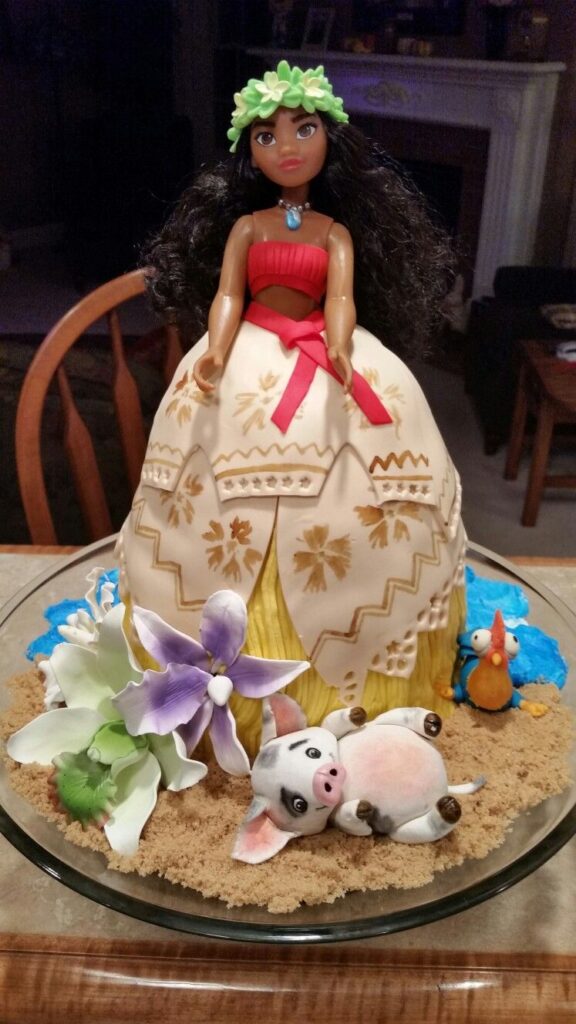
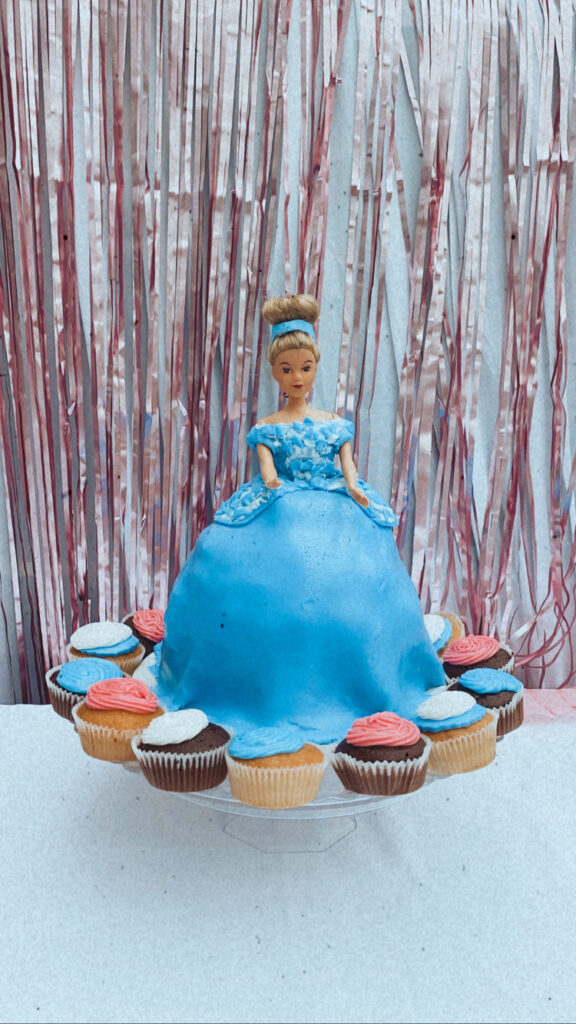
Present your cake onto a cake stand and, for an extra special touch, we placed cupcakes around the cake decorated in complimentary colours for everyone to enjoy.
We hope your cake is a big hit with your little guests!